Connect Menu

follow

Friday, December 18, 2015

BellyMoms nursing shirt review and a giveaway!


If you are or have ever been a breastfeeding mom you know just how challenging it can be to find nice affordable nursing clothes as I mentioned in my breastfeeding post. Most regular tops just do not have the access needed and a lot of nursing wear you will find is tanks which is fine but sometimes you want to wear a short sleeve or long sleeve top and be able to easily nurse. I was recently contacted by Belly Moms to do a review of one of their nursing tops and do a nursing cover GIVEAWAY!

BellyMoms Maternity and NursingWear

The giveaway details are after the review so don't miss out!  I was given this top below to try out and give my honest opinion on.


My review:
- The top will go with many different bottoms and pair easily with a cardigan in cooler weather.
- It is really long. On me (5'3) it is basically long enough to be a tunic so I may have to try it with leggings. I definitely prefer long over short as you know it won't ride up bending over to pick up your little one or play on the floor with them.
- It is a little loose in the stomach area but it is supposed to also work as a maternity top as you can see in the website photo so I understand why they needed to make it that way.
- It is very easy to nurse in
- The panel underneath the outer layer pulls up easily to access your nursing. Many other nursing tops have elastic on the panel making access to your nursing bra a little more limited.

They have a lot of cute nursing and maternity clothes on their site.

This crossover is cute and is currently on sale:

This long sleeved tunic has a great pattern and who doesn't love wearing comfy leggings with it:


And here is the nursing cover. I don't use a cover much anymore now that Dexter is older because he doesn't tolerate being under them but they were great when he was younger and I always use one when I need to pump in public or in the car.


The Giveaway! 
I have a very stylish nursing cover from Belly Moms that I modeled above for one lucky winner! This would be perfect for any expecting mom, new mom or a great gift for either! See the rafflecopter below to enter. The giveaway starts on 12/18.


a Rafflecopter giveaway


Good luck!

Update: CONGRATS Lindsay! I will email you next week after the holidays to arrange mailing you the nursing cover! Thanks to all who entered! You can receive 20% off any purchase at bellymoms.com with the coupon code THANKS

Monday, December 14, 2015

Dairy Free Chocolate Cake {Wacky Cake}


So first of all I made a cake from scratch! Say what? Yes this is the first cake I've ever made from scratch and I was really nervous about how it would taste since it has no dairy in it. I haven't been eating dairy for months due to a milk protein intolerance that Dexter is believed to have. It has been really hard not to have dairy... but enough about that and more about this cake. I stumbled upon this recipe when I wanted to make a dessert for my mom's birthday dinner at our house and it seemed to have good reviews but I was still skeptical. Eric was also skeptical because at one point he said "you are using cleaning supplies in our cake?". It uses white vinegar which I also use a lot for cleaning... vinegar is awesome so no worries.

Eric knew about it not having any dairy it in but I didn't tell my parents until after they were eating it and they could hardly believe it! It was SO delicious! I will definitely make this again even when I am able to eat dairy again because it was just that good and simple. Bonus points for using products that I mostly had on hand and no mixing bowls needed. This is also called Wacky Cake or Crazy Cake which I now totally get!


Dairy Free Chocolate Cake
from: sweetlittlebluebird

Ingredients:

- 1 1/2 cups all purpose flour
- 3 Tbsp cocoa
- 1 cup sugar
- 1 tsp baking soda
- 1/2 tsp salt

- 1 tsp white vinegar
- 1 tsp pure vanilla extract
- 5 Tbsp vegetable oil
- 1 cup water

Preheat oven to 350 degrees. Mix dry ingredients in a greased 8x8 baking pan. Make 3 depressions in the dry ingredients, two smaller and one larger. Pour the vinegar in a small depression, the vanilla in a small depression and the vegetable oil in the larger depression. Pour the water all over the whole cake. Mix well until smooth. Bake for 35 minutes. Top with frosting (recipe below or use your own favorite frosting).


Dairy Free Frosting
from: theyummylife

- 1 cup chocolate chips (use a non dairy type or ones that have less dairy - don't use milk chocolate chips)
- 1/4 cup almond milk
- 2 Tbsp coconut oil (or another oil, just not butter)
- 1/2 tsp vanilla extract
- 1 cup powdered sugar

Place everything except powdered sugar in microwavable bowl. Microwave on high for 30-40 seconds. Remove and whisk until mixture is smooth. Return to microwave for a few more seconds if needed. Add powdered sugar and whisk until smooth. Spread while it is warm.


Enjoy!


Saturday, November 21, 2015

Vickie's Wedding in Austin


The last weekend in August (yes I'm super behind with posts) we traveled to Austin, Texas for the wedding of one of my college roommates. Eric and I went to Austin a few years ago and had a ton of fun hanging out with Vickie and Kelly and exploring the city they love and it was great to be back for their wedding. This was Dexter's first flight and he did great. We lucked out and the plane wasn't full so we asked for a row just for us to have a little extra room and not have to bother with gate checking the car seat. I was able to nurse him on take-off and Eric wore him in the ergo and he slept most of the flight.


Upon arrival we didn't need to rent a car since we knew everything was either within walking distance or there would be transportation provided. We took a bus from the airport to downtown that had a stop just a couple blocks from the hotel. The Austin Hilton was very nice and so accommodating... they upgraded us to a suite for free! Maybe they saw we were tired new parents and took pity on us! They had a pack n play delivered to the room and luckily just recently we had transitioned from the rock n play to the crib for sleep... that was a tough transition! We were starving so we walked a couple blocks to this gourmet grocery store type place and got lunch and some snacks for our room.

Later that afternoon Vickie drove all the bridesmaids (and Eric and Dexter... they pretty much went everywhere I did since I needed to feed him every few hours) to the rehearsal at the Barr Mansion.  And we received fun bridesmaid bags filled with goodies. The ceremony would be outside so Dexter got his first real experience with the Texas heat and he was not a fan so I missed most of the instructions while feeding him inside but luckily Eric listened to them for me and took over baby duty as soon as I was done.


That night we ate delicious tex mex at the rehearsal dinner at the Iron Cactus, in walking distance of the hotel. Poor Dexter did not want to sleep with all that fun going on so Eric had to take him back to the hotel after he ate. It was nice catching up with my Clemson roomies and the families/close friends of the bride and groom.


Saturday morning we hung around until the other bridesmaids and bride were up and we practiced the dance (more on that later), went to get lunch at the Easy Tiger in our matching bridesmaid attire. Dexter loved having play time with Brooke and Celeste.


That afternoon we all got ready and headed to the Barr Mansion. Bridal party and mother of the bride and mother of the groom.


Such a pretty dress!


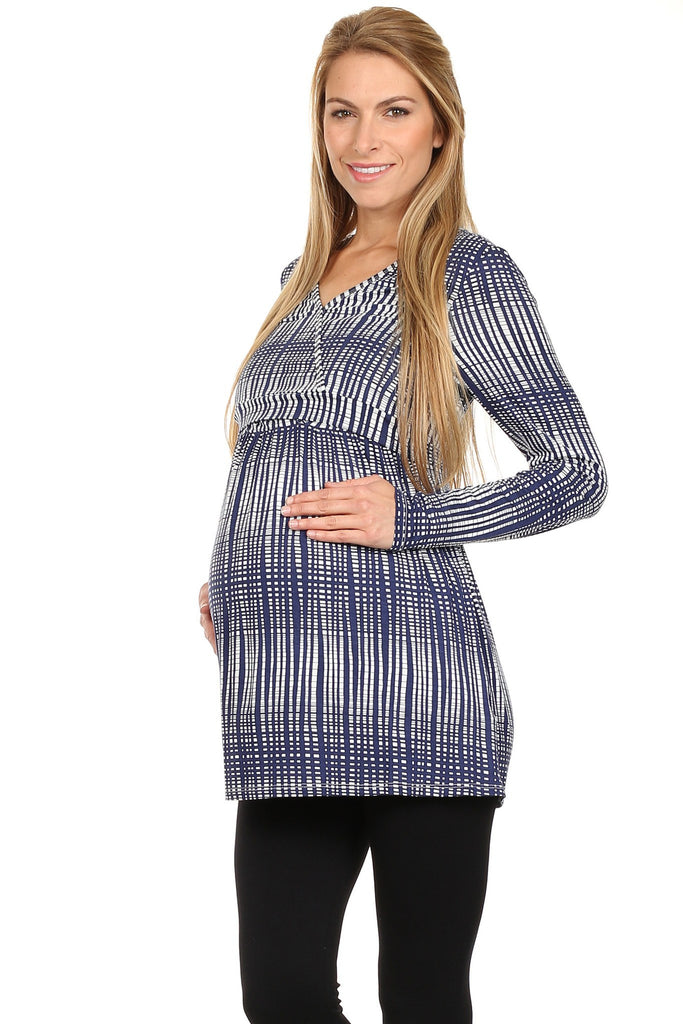
 Dexter had a very cute wedding outfit that my mom made even though he wouldn't be attending the wedding due to his bedtime being around the time it would start with the time difference. Too bad babies don't understand time difference and time change ;)


The ceremony was beautiful and ended up not being too hot. Vickie was just beaming the entire time and they looked so happy! (I don't have any photos from the actual ceremony since I was in it and Eric was with Dexter)


The reception was inside in a building close to the mansion and the rustic decor on wooden tables looked lovely. And the lights outside on the pathway were so pretty.


Unfortunately Dexter could not stay asleep with the loud band inside the reception so Eric spent most of the reception outside with him so that I could do bridesmaid things and whatnot. He is a super dad!


There was a surprise for the groom, a coordinated dance in sort of flash mob style choreographed and planned by the bride that started with her and the bridesmaids and then other guests joined in part way through the song. It was set to "She's Country" by Jason Aldean. From someone with a dance background, it was really fun to learn and do... it's been awhile since I've done a choreographed dance and it was a great success! The groom loved it! I will say I'm glad we practiced it in our cowboy boots because it is harder to maneuver in those than other shoes or bare feet. You can see the video someone took here:

https://www.youtube.com/watch?v=aB0poHC5ub4

There was also a photo booth which is always lots of fun! You didn't see a preview of what the photo would look like as the timer was counting down like most booths so I think that made for some interesting pictures... there are a few I saw from Vic's family that were pretty hilarious. I liked that you had the option to email the photos to yourself to have a digital copy. Who knew Clemson would be #1 in the country... Brooke predicted it!


The next morning we left for the airport using the bus again and had a good flight home. We had to gate check our car seat this time but Dexter did pretty much the same as the flight there and slept a good bit other than when being fed. I definitely think flying with a newborn or young infant was easier than I thought. It would be more difficult to fly with him now that he likes to move around a lot and isn't sleeping as much during the day.


All in all a great weekend seeing our friends tie the knot! We wish them many years of happiness!


Tuesday, November 3, 2015

Blacksburg trip


Every year we try to get together with the Miller family. Tyler is a close childhood friend of Eric and his brother. It is a little harder now that there are 4 kiddos in the mix but we all decided to meet up this at the end of July in Blacksburg. It was around the halfway point for everyone and I was excited because I love seeing college towns and had never been to Blacksburg before. We rented a cabin on VRBO for us all to stay in that was probably a 10 minute drive from the VT campus.

This was Dexter's first road trip and he did great! He slept the whole way there. Of course he wasn't quite 3 months old yet so sleeping most times he was in the car was his jam back then.


We arrived on a Thursday late morning and all hung around the cabin. We sent the guys for groceries and let the babies play some. It is so nice to rent a place with a kitchen so you can make your own meals.. this worked out perfectly with everyone being on different feeding and napping schedules and whatnot. Plus it was more relaxing to not try to go out to dinner.


Friday we drove into the VA Tech campus and after a quick stop at the visitor center for a parking pass, we went to the duck pond. It was a nice park area with ducks and a gazebo.


We had lunch at Souvlaki's at the suggestion of my friend Lauren who went to VT. It was delicious and casual so they didn't seem to mind that we had 3 infants and a 2 year old in tow. We walked around a little bit after lunch.


And we just hung out at the cabin and played games and took photos the rest of the day.


The next morning everyone headed for home after a photo of the guys and the kids.


We stopped by a blueberry farm nearby hoping to get some fresh blueberries but it was only a you-pick place and they didn't have any for sale already picked. We knew with a newborn that we definitely didn't have time for that especially in the heat so we just headed for home.


The trip home took forever with a few accidents on the interstate and needing to stop to feed Dexter. FYI there are no good places to grab lunch after leaving the Blacksburg area until you get to Statesville. We held out for Chick-fil-a in Statesville but man we were starving by then! Dexter did pretty well and slept most of the way home.

We had a great weekend in Blacksburg! It was a cool downtown and next time it would be neat to explore the downtown and campus a little more.

Saturday, October 31, 2015

How to plan and create a gallery wall


I've done a few gallery walls between our last home and this home. My favorite is galleries with photographs! Here is the process I go through when creating any type of gallery wall.


1. Design with paper: First create your gallery wall using regular paper the sizes of frames you want (or think you want) and tape them up on the wall using painters tape. I tape multiple pieces of paper together to achieve the right size if needed. Then it is easy to rearrange them until they look like you want. Look at it for a few days or a week and keep tweaking if you want. Note: if you don't have all your frames yet add at least 2 inches to the length and width of the photograph/picture size when you cut out a paper. So for an 8x10 you would use a 10x12 paper or larger. I prefer smaller frames for the most part. This also works for plates, mirrors or any other objects in a gallery wall. Just cut paper the same size.

Also don't be like me and leave the white paper up for 6+ months so that you start thinking it looks totally normal to have paper on your wall. 


2. Vision with frames: Gather your frames and arrange on the floor in mimicking your wall placement to make sure you still like the look. I didn't have all my photos printed yet at this point especially because I knew I wanted a few from Dexter's newborn photo shoot but having the frame sizes picked actually helped me pick out ones from his session that I wanted in this gallery wall.


3. Measure hanging placement: Measure on the back of each of your frames how far down from the top of the frame the screw needs to be for hanging it. Then make a mark on your papers on the wall to correspond to this measurement. You can put the screw in right through the paper and then tear the paper away after so you are sure to get it in the right spot. Note: the nice thing about a gallery wall like this is that if you are off by a little bit it doesn't matter since nothing has to be lined up just perfect


4. Place on the wall: Hang your frames on the screws you put in the wall.


Here is the finished product once I had all the photos printed for it and the printable I made printed out at kinkos.


In case you are interested in what sizes the photos are, here is a guide.


1. 8x10 landscape
2. 11x14 portrait (photo by Brittany Lauren Photography)
3. 5x7 landscape
4. 8x10 portrait (photo by Brittany Lauren Photography)
5. 8x10 portrait (photo by Brittany Lauren Photography)
6. 8x10 landscape
7. 5x7 portrait (printable I made that says "find joy in the journey")
8. 5x7 portrait
9. 11x14 landscape (photo by Brittany Lauren Photography)

I really like how this gallery wall in our family room turned out. I may tweak it over time if I get a new photo that I really want up there. If I do, I think I would move frame #1 up higher and fit another frame in below it, probably a 5x7 size.


Hope this helps you create beautiful gallery walls in your home!
Related Posts Plugin for WordPress, Blogger...